
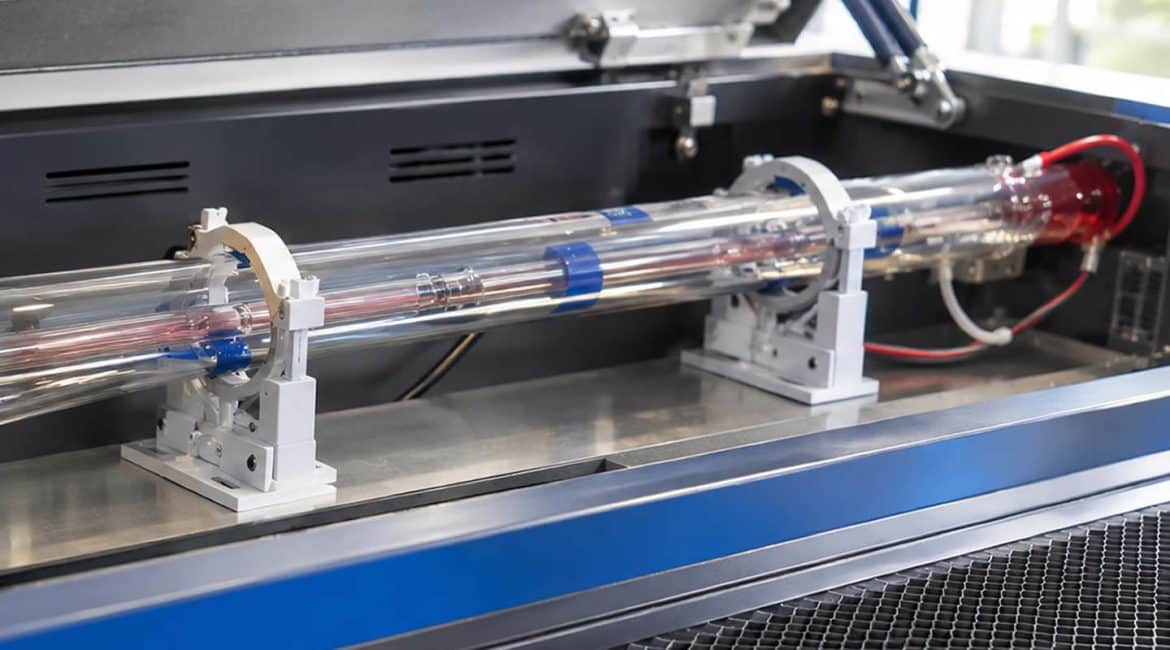
Nothing is more frustrating than watching your machine run smoothly one moment, then suddenly your CO2 laser tube goes silent mid-cut — no beam when you hit the test button, or the buzzer screaming without any output.
Most operators immediately think: “The CO2 laser tube is dead. I need to spend several hundred dollars on a new one.”
In reality, over half of these “no output” situations aren’t caused by a dead tube at all. Instead, they come from peripheral wiring, water protection circuits, or control signals failing — what we call “false faults.”
In this guide, we’ll walk you through a simple 5-step diagnostic method to identify the root cause. You’ll learn to tell the difference between a false fault and a genuinely damaged CO2 laser tube, saving you unnecessary replacement costs.
Step 1: Check the Water Circuit – Did Water Protection Trigger?
Every CO2 laser tube has a built-in water protection mechanism. When the chiller has no water flow, when water pressure drops too low, or when the water protection switch fails, the controller forcibly cuts laser output to prevent the tube from overheating and cracking.
What to check:
First, confirm the chiller is powered on and the pump is running. Look at the alarm light on the chiller panel. Then inspect the inlet and outlet hoses connected to the laser tube for any kinks, bends, or pinched sections.
How to test:
If the software or control panel shows a “Water Protection” alarm, try temporarily shorting the water protection signal wires. If the tube fires normally after shorting, your CO2 laser tube is still healthy — the actual culprit is a weak pump, a blocked line, or a faulty water protection switch.
Step 2: Check the Power Supply and High Voltage – Is Power Reaching the Tube?
The laser power supply acts as the heart of the CO2 laser tube. If it lacks input power or produces abnormal high-voltage output, the tube simply cannot fire.
What to check:
Look at the indicator light on the power supply housing and verify the cooling fan is spinning.
How to test:
Most CO2 laser power supplies feature a red “Test” button. With water circulation confirmed, press this Test button directly:
- If the tube lights up with a violet-red glow, both the power supply and the CO2 laser tube are fine! The problem lies upstream — in the controller board or signal cables.
- If nothing happens when you press Test and the power indicator remains off, the fuse may be blown, or the power supply itself is damaged.
Step 3: Check the Control Signals – Did the Main Board Send the Command?
Suppose the Test button fires the tube, but your computer software or the control panel’s “Laser On” key produces nothing. In that case, the issue narrows down to the control signal path.
What to check:
Three primary control wires connect the power supply to the main board: the on/off signal (TH/TL), the water protection signal (WP), and the power adjustment signal (IN/DA).
How to test:
Inspect the ribbon cable connectors between the board and the power supply for loose or oxidized pins. If the panel’s power setting was accidentally set to 0%, or if the power adjustment potentiometer is defective, the supply receives no power command and won’t fire. Simply reseating the control cables and verifying the software power level resolves many “false dead” cases.
Step 4: Check for High-Voltage Arcing and Cable Damage – Is Energy Leaking Away?
If you hear faint “crackling” sounds or smell a slight ozone odor, yet the CO2 laser tube produces no beam or only a very weak one, high-voltage arcing is likely draining your energy.
What to check:
Pay close attention to the rear end of the tube where the high-voltage electrode connects. In humid or dusty environments, tens of thousands of volts can easily penetrate the insulation layer and arc directly to the metal frame.
How to test:
Turn off and unplug the machine. Examine the high-voltage wire at the tube’s rear for cracks, blackening, or burn marks. If arcing caused the issue, trim away the damaged insulation, reconnect the wire properly, and seal it completely with high-voltage silicone and insulating heat-shrink tubing. Let it cure, then the system should work normally again.
Step 5: Inspect the Tube Body and Gas – Recognizing a True Failure
If you’ve completed the first four steps, the electrical and water systems both check out, yet the Test button still won’t light the tube, inspect the CO2 laser tube itself. Certain visible signs confirm genuine damage.
- Abnormal glow color inside the tube:
Under normal operation, the discharge tube inside a CO2 laser tube shows a rich, pure violet-red or pink glow. If the glow turns extremely pale white or light blue, or disappears entirely, the internal gas has leaked out or severely aged. - Inner tube cracked or water leaked in:
Look at the innermost discharge tube and the water-cooling layer. If condensation appears inside the discharge section, or if you see visible micro-cracks or fractures in the glass, thermal stress has broken the inner tube. The CO2 laser tube is beyond repair. - Output mirror burned:
Inspect the gold or black coated mirror at the front output end. Black burn spots or cracks in the center of this mirror block the beam from exiting. Replacement of the CO2 laser tube becomes necessary.
Expert Summary
Always troubleshoot a “no output” CO2 laser tube in this order: first check water flow, second press the Test button, third inspect control cables, fourth look for high-voltage arcing, and fifth observe the tube’s internal appearance.
Determining whether you’re facing a signal interruption, a false water-alarm, or genuine gas leakage will save you significant money and reduce unnecessary downtime.