
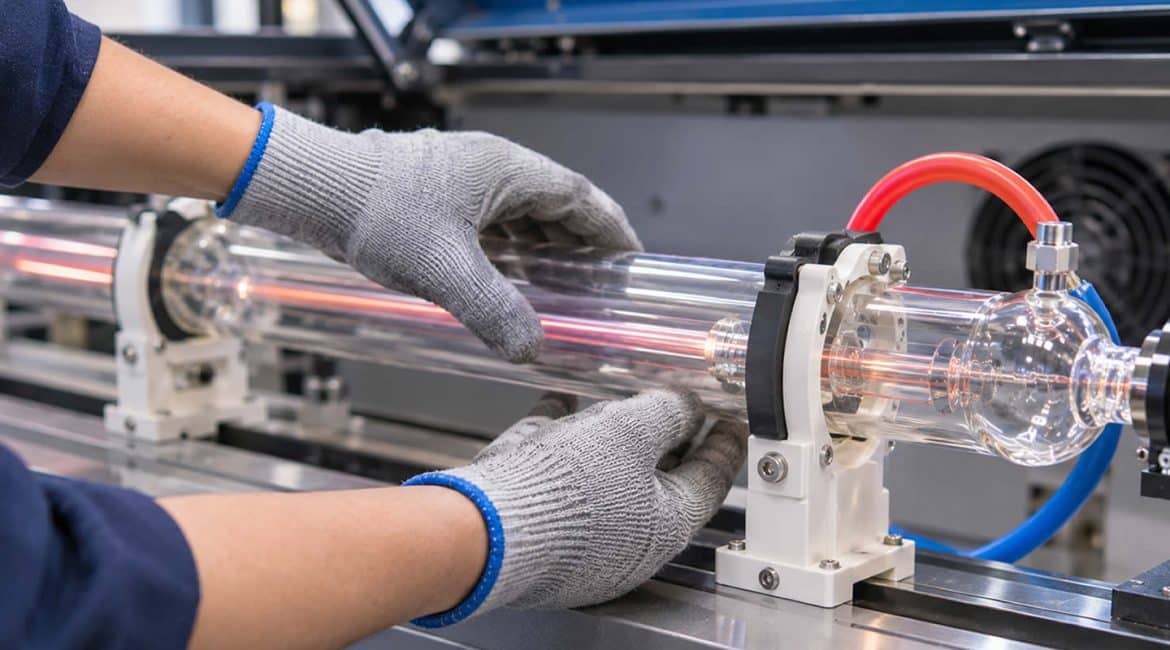
Many newcomers use CO2 laser cutting machines or engravers. For them, a brand-new CO2 laser Tube makes unpacking and installation the most stressful step. After all, the tube looks simple. Yet it combines high-voltage electrical parts, gas discharge physics, and precision optics. Therefore, many beginners treat installation like fastening a screw or connecting a water pipe. In fact, one power-on test can produce a sharp high-voltage arc. It can also crack the glass within minutes. Moreover, it can leave a badly aligned beam that cannot cut material. This guide explains key points and common pitfalls in CO2 laser Tube installation. In addition, it helps you avoid costly beginner mistakes.
- Mounting Direction and Water Outlet Position: Do Not Trap Air
First, set the CO2 laser Tube in the correct position. This tube usually has an outer water-cooling jacket and an inner discharge tube. Many beginners overlook the direction of the water ports. As a rule, follow the “low in, high out” principle. Connect the inlet hose to the lower port. Then connect the outlet hose to the higher port. In addition, the water outlet must point straight up.
If the outlet faces sideways or downward, a large air pocket can remain at the top of the water jacket. Consequently, the glass under that air pocket receives no water cooling. Local temperature can rise to hundreds of degrees Celsius in seconds. That heat stress can cause violent local cracking, commonly called a tube explosion. Moreover, it can sharply reduce output power.
- Flexible Mounting and Support Points: Give the Glass Room to Breathe
A tube seems sturdy, but it is actually a thin-walled glass vessel. It can measure one meter or even nearly two meters long. Therefore, do not clamp it randomly at both ends. The manufacturer usually marks or recommends support positions. These positions generally sit at one quarter to one fifth of the total CO2 laser Tube length. Place the supports at these two best load points. This practice minimizes microscopic bending caused by the tube’s own weight.
However, many beginners overtighten metal clamps to reduce vibration. Glass expands slightly when it heats up. If the clamp is too tight and lacks a rubber cushion, the hard clamping force can crush the tube. In addition, uneven support can bend the tube by microns. That bending distorts the internal resonator. As a result, a round beam spot can become a distorted “smear” or double spot.
- Wiring Practice: Arc Prevention and Insulation Are Critical
A CO2 laser Tube needs tens of thousands of volts of DC high voltage during operation. Its ignition voltage can reach 20,000 to 40,000 volts. Therefore, wiring quality is extremely important. First, secure the high-voltage end, usually at the tube tail, by soldering or bolting. Then cover it fully with a dedicated high-voltage insulating silicone sleeve. Moreover, inject high-voltage sealing silicone into the sleeve. Keep the wiring smooth, and remove every metal burr.
If a metal burr remains or insulation is incomplete, high voltage can cross the insulation layer. It may then arc through the air to the metal frame or nearby cables. Such arcing can stop the tube from emitting light. It can also make power fluctuate violently. In addition, the high-voltage surge can directly damage the mainboard and laser power supply.
- First Water Fill and Air Bleeding: Remove Every Water Bubble
After you connect the hoses and wiring, do not turn on the high-voltage output immediately. Instead, bleed the water circuit first. Turn on the chiller, and let cooling water circulate through the CO2 laser Tube for three to five minutes. Then inspect the water jacket carefully, especially bends near the tube tail and the output mirror. If small bubbles remain, gently raise or tilt the inlet end of the tube. Alternatively, tap the hose lightly and push the bubbles toward the outlet.
If you skip this step, small bubbles near the mirror mount can block heat removal. As a result, the expensive output mirror may lose its coating or crack from rapid temperature rise.
- Beam Alignment: Do Not Let the Beam Hit the Wall
After you fix the CO2 laser Tube, align its output beam precisely with the center of the machine’s first mirror. First, adjust the height and front-to-back position of the tube supports. This step keeps the beam output coaxial with the first mirror center. Next, place alignment paper in front of the first mirror mount. Press the low-power test button, and observe the spot position. Then fine-tune the support bolts until the spot hits the geometric center of the mirror.
If the CO2 laser Tube tilts, the beam can strike the mirror edge or even the mirror frame. Consequently, the metal frame absorbs much of the laser energy. At the cutting head, this problem appears as severe power loss. Moreover, the heated metal frame releases heat and destabilizes the whole beam path.
Expert Recommendation
When you install a CO2 laser Tube, remember this installation mnemonic: “Low in, high out, bleed the air; flexible mounting, firm support; high-voltage insulation prevents arcing; centered beam preserves power.” Follow these standards carefully. Then you can prevent tube explosions, arcing, and other major safety problems. In addition, your new tube will deliver its best beam quality from day one.