In laser cutting or welding equipment, consider the laser head its “eye.” Indeed, the laser protective lens functions as its “cornea.” This consumable is among the least expensive. Nevertheless, it critically influences processing quality. Often, burrs appear on cutting edges. Alternatively, processing power inexplicably drops. These issues, in fact, frequently signal a struggling protective lens. This thin glass, consequently, might quietly send an alert.
I. A Fragile Defense: Why This Lens Matters
The primary role of a protective lens is to shield the costly focusing lens. Specifically, it guards against spatter, sparks, and dust. These elements, of course, arise during cutting or welding. This component appears as simple transparent glass. However, its surface features a high-standard anti-reflection coating. This coating, crucially, ensures nearly 100% laser transmission. Yet, this fragile defense can fail. Even a tiny, imperceptible dust speck causes damage. Under kilowatt laser irradiation, it rapidly absorbs laser energy. It then forms a micro-damage point. This point, in effect, acts like a “black hole,” consuming light. Therefore, maintaining the integrity of the laser protective lens is paramount.
II. Contaminant’s “Destructive Mechanism”: How Beam Quality Collapses
Why do tiny dust or oil particles critically damage a protective lens? Two core physical phenomena, namely, energy absorption and thermal distortion, explain this.
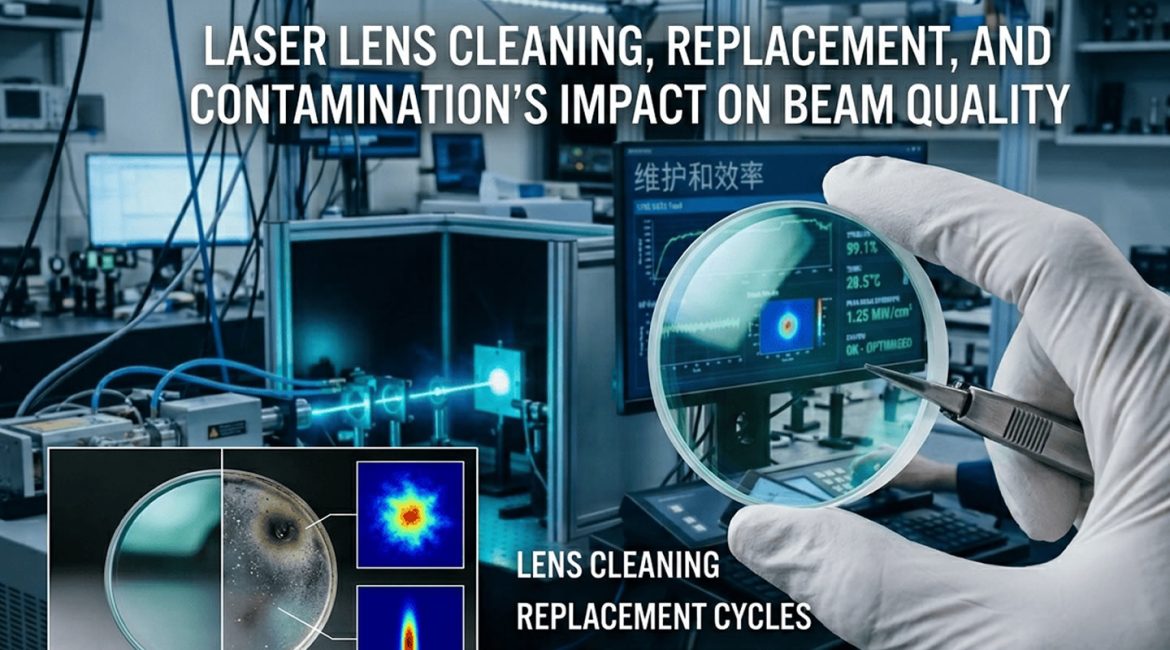
- Energy Absorption and Rapid Heating: A clean protective lens absorbs minimal laser energy. Conversely, dust, oil, or water mist on its surface intensely absorb laser energy. High-power laser irradiation quickly heats these contaminants. Local temperatures, as a result, can reach hundreds of degrees Celsius.
- Coating Ablation: This localized high temperature directly ablates the lens’s anti-reflection coating. It creates irreparable black damage points or burn marks.
- Thermal Lensing: Even without ablation, localized heating causes minute physical deformation of the lens material. This effect is akin to giving the laser head “astigmatism glasses.” Consequently, the laser beam’s focus shifts. The laser spot enlarges, and energy distribution becomes uneven.
- Severe Consequences: These problems lead to various processing anomalies. Materials previously cut with ease become difficult to penetrate. The cut surface, furthermore, appears rough and uneven. Moreover, internal reflections within the laser head might occur. This can damage the laser’s core components. Therefore, a compromised laser protective lens impacts the entire system.
III. The Correct “Cleaning Ritual”: Daily Maintenance Guide
Cleaning a protective lens requires precision. Never use rough methods or casual wiping. Indeed, avoid using clothing corners or unclean items.
1.Environment and Protection: Always operate in a cleanroom. Alternatively, choose the cleanest possible environment. Wear finger cots or medical gloves. This prevents direct finger contact with the protective lens.
2.Air Blower First: Begin by gently blowing loose dust from the protective lens surface. Use a professional air blower (e.g., an ear bulb). Crucially, do not blow with your mouth. Saliva contains particles and moisture that can cause contamination.
3.Specialized Reagents: Select 99%+ pure anhydrous ethanol (isopropyl alcohol). Alternatively, use a specialized optical lens cleaning solution.
4.Wiping Technique: Use a lint-free cotton swab or specialized optical lens paper. Dip it in a small amount of cleaner. Gently wipe in a single, spiral motion. Start from the lens’s center. Move outwards towards the edge. Never wipe back and forth. This action, significantly, redeposits removed dust. Moreover, it can scratch the delicate coating of the protective lens.
IV. Replacement Cycle: Don’t Wait Until “Blindness”
A laser protective lens lacks a fixed lifespan. Its longevity depends on your specific operating conditions and maintenance practices. Do not delay replacement until damage becomes critical.
- Routine Inspection Frequency: In normal industrial settings, visually inspect the laser protective lens daily before startup. For instance, for high-volume processing, inspect it every shift (approximately 8 hours).
- Mandatory Replacement Signals: Replace the protective lens immediately if any of these conditions occur:
— Observing unremovable white spots, black spots, or burn marks on the lens surface. Use a flashlight at an angle for this inspection.
— Processing shows significantly longer piercing times. Alternatively, the cut surface exhibits noticeable burrs or roughness.
— The equipment’s optical path system issues an abnormal temperature alarm. - Rule of Thumb: Typically, a laser protective lens for medium to high-power lasers lasts 1-2 weeks. This assumes good maintenance. However, if a lens burns out frequently (e.g., a new lens fails every 3 days), immediately check your assist gas purity. Also, inspect the gas path for oil or water contamination.
Expert Summary
The seemingly small laser protective lens serves as a vital “shield.” It bridges the gap between a precise optical system and a harsh processing environment. “Prevention is better than cure” is the guiding principle for its maintenance. Adopting habits of regular inspection and proper cleaning saves more than just the cost of replacement lenses. Crucially, it also prevents expensive equipment downtime. Ultimately, this ensures both production efficiency and high processing quality.