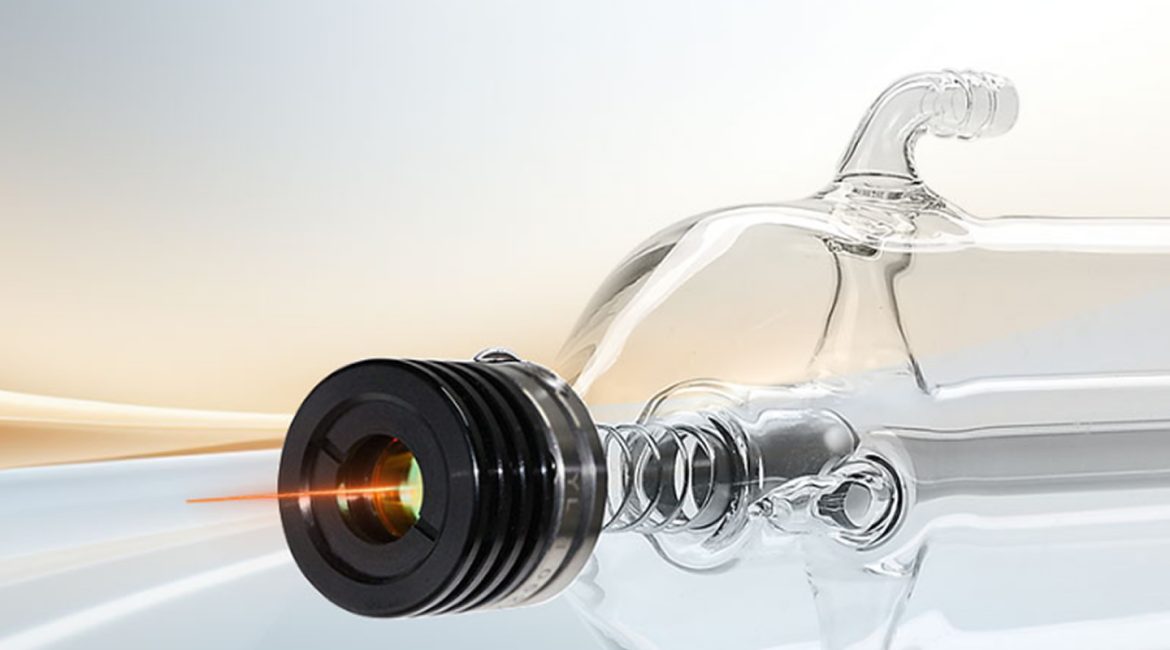
The emission of a CO2 laser tube is controlled by several systems working together. These include the CO2 laser tube itself, the laser power supply, the water cooling system, and the firing signal. The firing signal incorporates the PWM signal from the controller board, the water protection signal, and the door interlock signal.
When a CO2 laser tube fails to emit a laser beam, troubleshooting should focus on the following areas:
1.Initial Inspection:
Begin by visually inspecting the laser power supply to ensure it is properly powered on. Check the CO2 laser tube’s inner and outer glass tubes for any visible abnormalities (cracks, discoloration, etc.). Verify that the water cooling system is functioning correctly. If any issues are found, replace or adjust the affected components.
2.Firing Signal Testing:
If the above components appear to be working, investigate the firing signal. A common method is to use jumpers to bypass certain signals and isolate the problem. The procedure is as follows:
- Short the 5V and AIN ports on the laser power supply’s current control input.
- Short the P (Protective) and GND (Ground) ports of the water protection circuit.
- Use a momentary (unlocked) switch to control the L (Laser Enable) and GND ports.
3.Result Analysis:
- If the CO2 laser tube fires normally after shorting: This indicates that the CO2 laser tube and the laser power supply are likely functioning correctly. The problem probably lies with the water protection switch, relay, door interlock switch, or the PWM signal from the controller board. Troubleshoot these components one by one.
- If the CO2 laser tube still does not fire after shorting: This suggests a potential issue with either the CO2 laser tube or the laser power supply. If you are unsure which is the culprit, try replacing either the CO2 laser tube or the laser power supply to test.
Summary:
A CO2 laser tube failing to fire is a common issue. By following these troubleshooting steps, you can quickly pinpoint the cause of the problem and take appropriate corrective action. Always prioritize safety during troubleshooting, especially when dealing with electrical components. Avoid potential electric shock hazards.

